The 90-Day Email List Building Plan for a New Blog
A practical 90-day plan to build your first email list from a brand-new blog: lead magnets, opt-in placement, welcome sequences, and the tools to do it without pop-up spam.
Why email still beats social traffic for bloggers
A new blogger can spend months chasing followers, likes, and algorithmic approval. But none of those platforms are yours. An email list is the only audience you truly own. When Google updates its algorithm, your email list still works. When a social platform changes its reach, your email list still works. When you want to sell something, your email list converts better than any other channel.
This is why email list building should start early, even when traffic is small. Your first 100 subscribers are more valuable than 1,000 passive followers. They raised their hand. They asked you to show up in their inbox. That relationship is the foundation of every successful blog business.
This article gives you a 90-day plan to build that list from a brand-new blog. It is realistic, low-cost, and designed to avoid the spammy tactics that make readers hate you.
The 90-day plan at a glance
Here is the shape of the plan:
- Month 1: Create a lead magnet, place opt-ins on your blog, and write your first welcome email.
- Month 2: Add content upgrades, build a simple landing page, and create a short nurture sequence.
- Month 3: Promote ethically, settle on a newsletter cadence, and run your first re-engagement test.
The goal is not to hit 10,000 subscribers in 90 days. The goal is to build a small, high-quality list and a system that keeps growing. Speed creates bad lists. Systems create good ones.
Month 1: Lead magnet and first opt-ins
A lead magnet is a free, valuable thing you give away in exchange for an email address. It should solve a specific problem for a specific reader. It should be something they can use immediately.
Lead magnet ideas that work for new blogs
Not every lead magnet is equal. The best ones promise a quick win. Here are formats that work well for new blogs:
- Checklist: A printable checklist that helps the reader apply a process. "The First 30 Days of a Blog Checklist" is a natural fit for this site.
- Template: A fill-in-the-blank template. "Blog Post Outline Template" or "Welcome Email Template."
- Mini guide: A 5–10 page PDF on a narrow topic. "How to Choose a Blog Niche in One Weekend."
- Swipe file: A collection of examples the reader can model. "10 Headline Formulas That Work for New Blogs."
- Resource list: A curated list of tools, books, or services. "The New Blogger's Toolkit."
Pick one. Do not try to create five lead magnets. One good lead magnet beats five mediocre ones.
The lead magnet criteria
Before you commit, ask:
- Is it directly related to a blog post readers already find?
- Can they consume it in under 10 minutes?
- Does it promise a specific outcome?
- Does it make them want to read more from you?
- Can you deliver it automatically?
If the answer to any of these is no, simplify the lead magnet until the answer is yes.
Place your first opt-ins
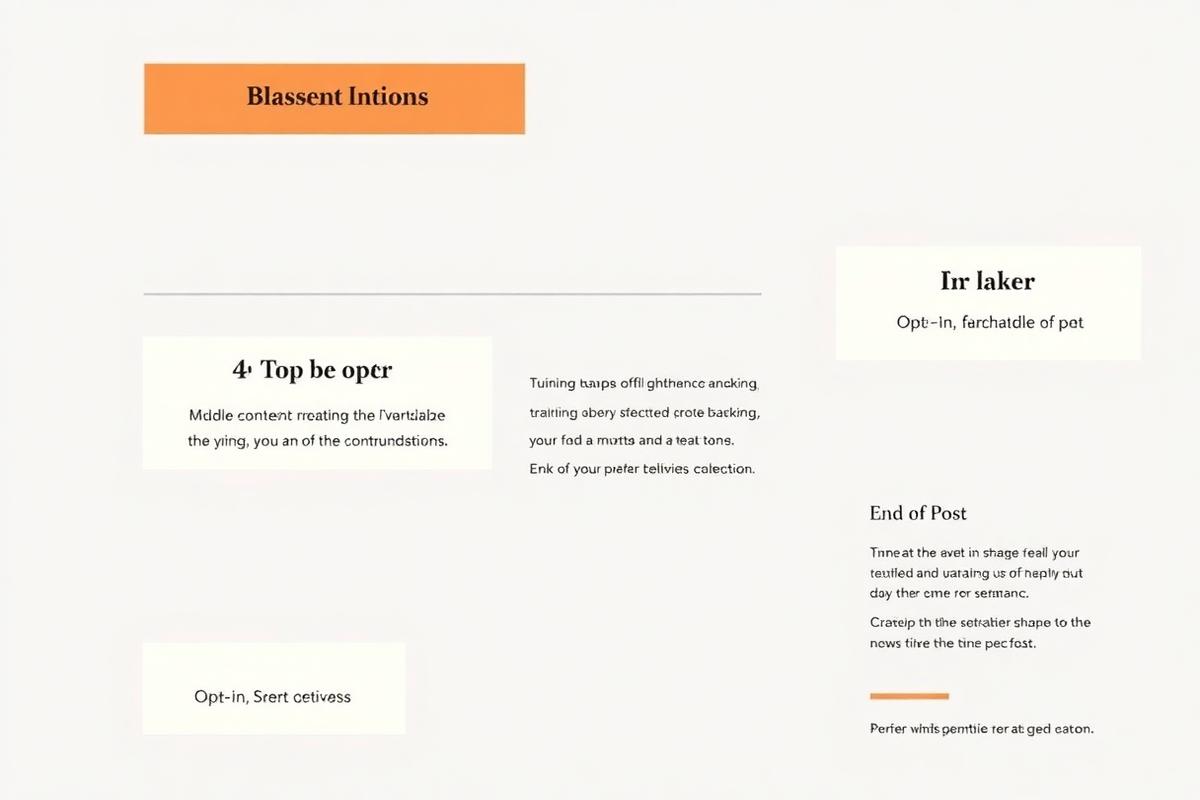
You do not need fancy pop-ups on day one. You need three placements:
- Top-of-post banner: A short sentence below the title that says what the lead magnet is and who it is for. Include a link to the landing page or a small inline form.
- End-of-post callout: A box at the end of the post that connects the topic to the lead magnet. "Liked this guide? Get the checklist version."
- Dedicated landing page: A simple page with one purpose: explain the lead magnet and ask for an email. Link to it from your homepage and footer.
Do not use a pop-up until you have enough traffic to test it. On a new blog, pop-ups annoy the few readers you have. Earn the right to interrupt.
Write your first welcome email
The first email a subscriber receives sets the tone. It should:
- Deliver the lead magnet immediately.
- Thank them for subscribing.
- Tell them what to expect next.
- Invite them to reply with one question or introduction.
Keep it short. One screen on a phone. Your goal is to start a conversation, not to sell.
Month 2: Content upgrades and a nurture sequence
Once you have a lead magnet and a welcome email, you can layer in upgrades and a short sequence.
Content upgrades
A content upgrade is a lead magnet tailored to one specific blog post. It is the single highest-converting opt-in strategy for new blogs because the reader is already interested in the topic.
Examples:
- A blog post on SEO tools → a downloadable "SEO Tools Comparison Spreadsheet."
- A blog post on writing headlines → a "Headline Swipe File PDF."
- A blog post on monetisation → a "Revenue Milestone Tracker."
Create one content upgrade for your most popular post. If you do not have traffic yet, create one for the pillar post you are most proud of. Promote it inside the post, at the end of the post, and on the post's landing page.
Build a simple landing page
A landing page has one job: convert visitors into subscribers. It should include:
- A clear headline that matches the lead magnet.
- A short description of what they get and why it helps.
- Three bullet points of benefits.
- An email form with a simple button.
- A note about privacy and unsubscribe links.
Do not add navigation, sidebar, or unrelated links. Every extra link is a leak.
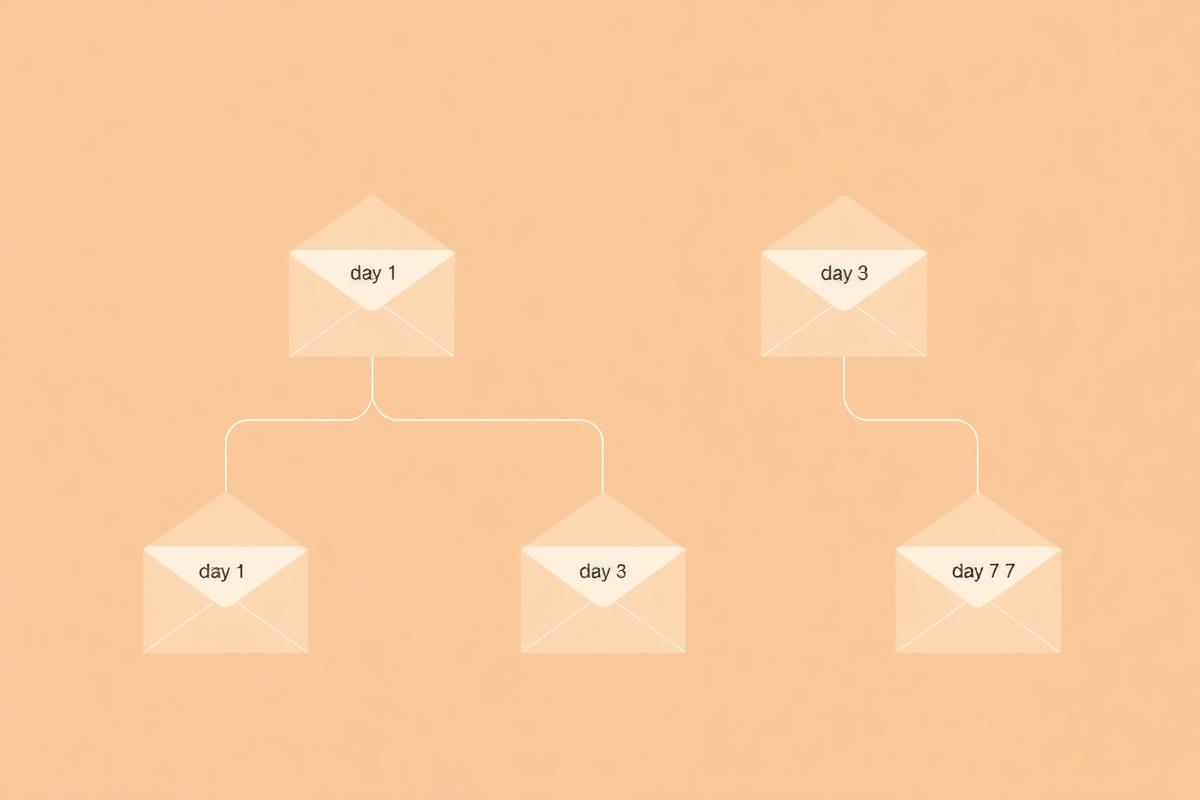
The 3-email welcome sequence
A welcome sequence is a short series of emails that new subscribers receive automatically. It introduces you, builds trust, and trains the reader to open your emails.
Email 1: Deliver the lead magnet and set expectations. Send immediately.
Email 2: Share your story or philosophy. Send 2–3 days later. Why do you blog about this topic? What do you believe that most people in your niche get wrong? Keep it personal.
Email 3: Provide another quick win and introduce your newsletter. Send 4–6 days later. Share a tip, a tool, or a resource. Then tell them what your regular newsletter covers and how often you send it.
That is enough for a new blog. You can add more emails later. The goal is to move from stranger to subscriber to reader, not to make a sale on day three.
Month 3: Ethical promotion and cadence
By month three, you have the basics. Now you need readers to know the list exists and to send emails consistently.
Promote your list without being annoying
Promotion does not mean plastering pop-ups everywhere. It means making the list easy to find and clearly worth joining.
- Add a footer link to your landing page. Every page on your site should have it.
- Mention the list in your author bio. If you guest post, the byline drives sign-ups.
- Pin a link in your social profiles. But do not make your entire social presence a sign-up funnel.
- Add a short CTA to your email signature. A simple "Want more blogging tips? Join my newsletter: [link]."
- Ask readers at the end of high-value posts. If the post helped them, the email list is the natural next step.
Choose a newsletter cadence
Consistency matters more than frequency. A weekly email that arrives every week is better than a daily email that disappears for a month. For a new blog, I recommend starting with one email every week or two. You can always increase frequency later.
Pick a day and time. Block it in your calendar. A newsletter is a promise to your readers. Keep it.
What to send
Your emails do not need to be long. They need to be useful. Send:
- A short lesson you learned while writing.
- A link to your latest post with a personal note.
- A curated list of three links you found useful.
- A question to your readers.
- A behind-the-scenes update on an experiment or project.
The best newsletters feel like a letter from a knowledgeable friend, not a content feed.
Run your first re-engagement test
At the end of month three, look at your subscriber list. If someone has not opened your last five emails, send them one email with a direct subject line: "Are you still interested in [topic]?" Give them an easy way to unsubscribe or stay. Remove the people who do not respond.
This sounds scary, but a small engaged list is worth more than a large dead list. It also improves your deliverability and keeps your open rates honest.
Free and cheap tools for new bloggers
You do not need expensive software to start. Here are the most common choices, from free to paid:
- MailerLite: Generous free tier, good automation, easy landing pages. Best for beginners who want room to grow.
- Buttondown: Simple, writer-focused, affordable. Best for minimalists who want a clean email experience.
- ConvertKit free tier: Good for creators, easy automations, landing pages included. Limited but functional for a new list.
- Beehiiv: Newsletter-focused with built-in growth tools. Good if you want to publish your newsletter on the web too.
Pick one tool and stay with it for at least a year. The time you spend switching tools is time you are not building your list.
The honesty check: when to monetise your list
A new blogger often asks: when can I start selling to my list? The answer is not a number. It is a signal.
You can sell when readers are replying to your emails, asking questions, and telling you what they want. That usually happens after you have sent consistent value for several months. If nobody has ever replied, you are not ready.
Start with a small, low-risk offer. A $19 guide. A template. A 30-minute call. Test whether your audience is willing to pay before you build a $500 course. If ten people buy the small thing, a larger offer is worth building.
Common mistakes to avoid
- Buying a list. It is ineffective, illegal in many places, and destroys your sender reputation.
- Hiding the unsubscribe link. It makes you look shady and hurts deliverability.
- Sending only promotional emails. The first 90 days should be almost entirely value.
- Asking for too much information. Name and email are enough. More fields mean fewer sign-ups.
- Forgetting to deliver the lead magnet. Set up the automation and test it yourself. A broken welcome sequence is a broken first impression.
Do this next
- Pick one lead magnet idea from the list above and outline it today.
- Set up a simple email tool and create a landing page this week.
- Add one end-of-post CTA to your most popular or most proud post.
- Write your first three welcome emails and schedule them.
- Choose a weekly or biweekly newsletter cadence and put the first send date in your calendar.
- Set a reminder for 90 days from now to review open rates, unsubscribes, and your first re-engagement campaign.
Further reading
If you want to understand how email fits into a blog that eventually earns, this is the book I recommend. Affiliate link — supports the site at no cost to you.